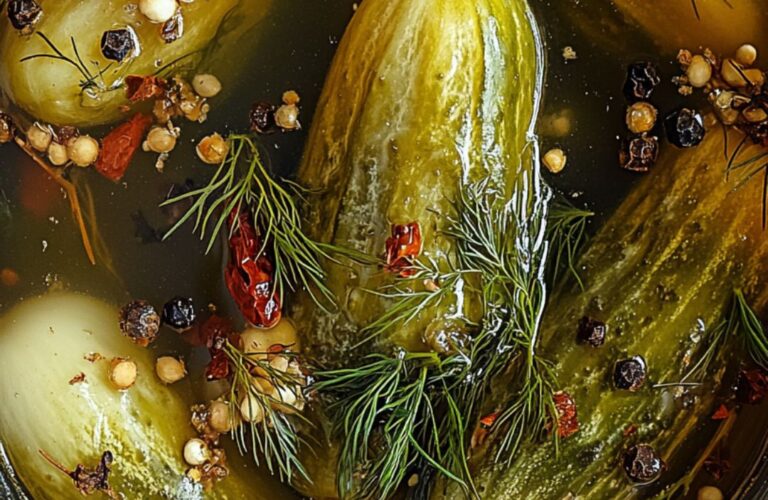
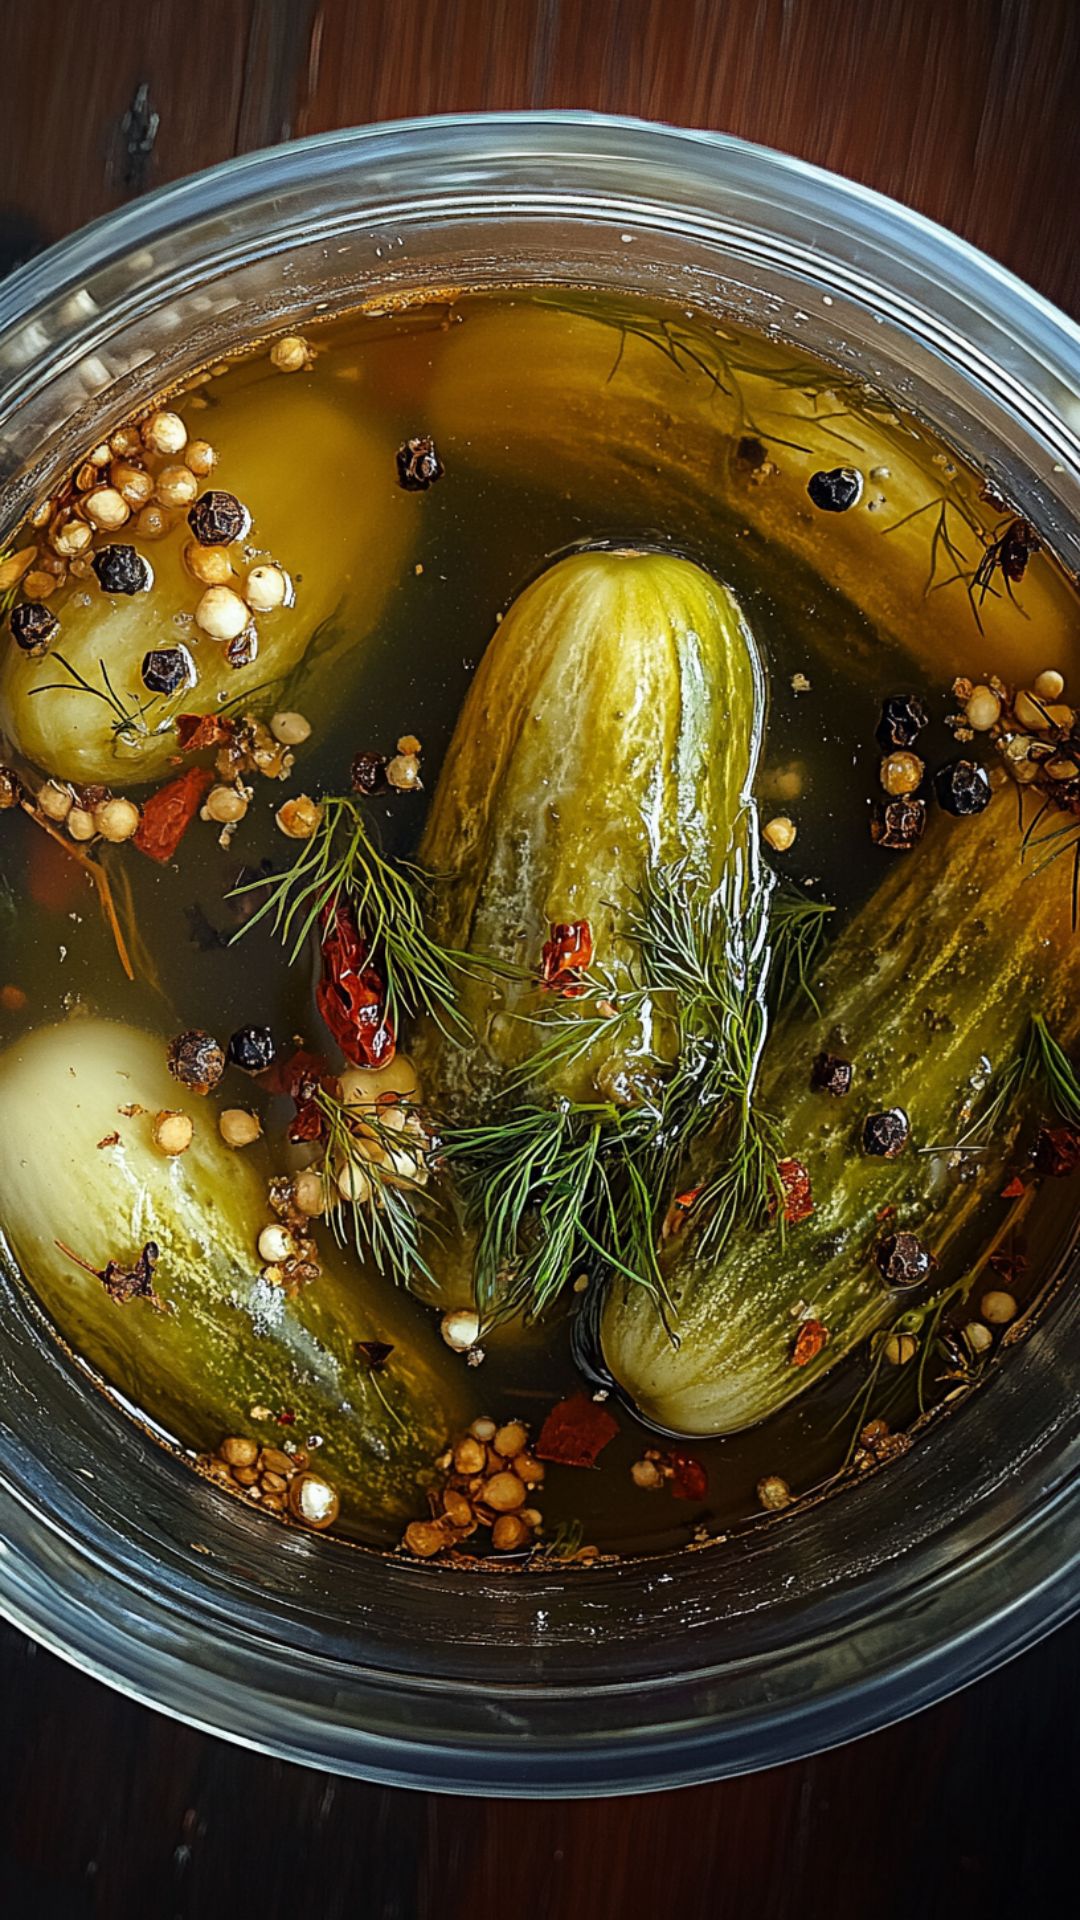
This easy homemade dill pickle recipe is perfect for anyone who loves crunchy, tangy pickles without the added preservatives. With just a few simple ingredients, you can make classic fermented pickles right at home. The best part? They get better with time, and you can adjust the spice level to your taste!
Recipe Ingredients:
- 1/2 cup pickling salt
- 1 gallon filtered water
- 3 pounds pickling cucumbers, 4 to 6 inches long
- 1 tablespoon black peppercorns
- 1 tablespoon red pepper flakes
- 2 cloves garlic, crushed
- 1 teaspoon dill seed
- 1 large bunch dill
How To Make Dill Pickles?
- Make the Brine: In a large pitcher, mix the pickling salt and filtered water until fully dissolved.
- Prepare the Cucumbers: Rinse the cucumbers thoroughly and trim off the blossom end (this helps keep them crisp).
- Layer the Aromatics: In a 1-gallon (3.8L) crock or large glass jar, add the black peppercorns, red pepper flakes, crushed garlic, dill seed, and fresh dill.
- Add the Cucumbers & Brine: Place the cucumbers on top of the aromatics in the crock. Pour the brine over the cucumbers, ensuring they are completely submerged.
- Weigh Down the Pickles: Fill a 1-gallon (3.8L) zip-top plastic bag with water, seal it, and place it on top of the cucumbers to keep them fully submerged.
- Start Fermentation (Days 1-3): Store the crock in a cool, dry place for 3 days. Check for bubbles rising to the surface—this means fermentation has begun.
- Daily Checks (Days 4-7): Check the pickles each day, skimming off any scum that forms on the surface. If any scum appears on the plastic bag, rinse it off and return it to the crock.
- When Are They Ready? Fermentation is complete when the pickles taste sour and bubbles stop rising (around 6-7 days).
- 9. Refrigeration & Storage: Once fermentation is complete, cover the crock loosely and refrigerate for 3 more days. Continue skimming if needed. The pickles can be stored in the fridge for up to 2 months. If they become soft or develop an off odor, discard them.

Recipe Tips:
- Use the Right Cucumbers: Pickling cucumbers (like Kirby or gherkins) work best because they stay crisp during fermentation. Avoid using regular salad cucumbers, as they can turn soft.
- Trim the Blossom End: The blossom end of cucumbers contains enzymes that can cause soft pickles. Always cut off about ¼ inch from that end before pickling.
- ✔ Keep Everything Submerged: Cucumbers must stay under the brine at all times to prevent mold. Weigh them down with a water-filled bag or fermentation weights.
- Watch for Bubbles: Bubbles mean fermentation is happening! If you see them after 3 days, you’re on the right track. If not, your temperature may be too cold.
- Skim the Scum Daily: If foam or white film forms on top, skim it off. This helps keep the brine clear and prevents spoilage.
How To Store Leftovers?
Let the pickles cool to room temperature after fermentation. Then, transfer them (along with their brine) into clean glass jars with tight-fitting lids. Store in the fridge for up to 2 months, checking regularly for any signs of spoilage.
Nutrition Facts
- Calories: 5
- Total Fat: 0g
- Saturated Fat: 0g
- Cholesterol: 0mgm
- Sodium: 283mg
- Potassium: 46mg
- Total Carbohydrate: 1g
- Dietary Fiber: 0g
- Sugars: 0g
- Protein: 0g
Check out More Recipes:
Alton Brown Dill Pickles
Description
This easy homemade dill pickle recipe is perfect for anyone who loves crunchy, tangy pickles without the added preservatives. With just a few simple ingredients, you can make classic fermented pickles right at home. The best part? They get better with time, and you can adjust the spice level to your taste!
Ingredients
Instructions
- Make the Brine: In a large pitcher, mix the pickling salt and filtered water until fully dissolved.
- Prepare the Cucumbers: Rinse the cucumbers thoroughly and trim off the blossom end (this helps keep them crisp).
- Layer the Aromatics: In a 1-gallon (3.8L) crock or large glass jar, add the black peppercorns, red pepper flakes, crushed garlic, dill seed, and fresh dill.
- Add the Cucumbers & Brine: Place the cucumbers on top of the aromatics in the crock. Pour the brine over the cucumbers, ensuring they are completely submerged.
- Weigh Down the Pickles: Fill a 1-gallon (3.8L) zip-top plastic bag with water, seal it, and place it on top of the cucumbers to keep them fully submerged.
- Start Fermentation (Days 1-3): Store the crock in a cool, dry place for 3 days. Check for bubbles rising to the surface—this means fermentation has begun.
- Daily Checks (Days 4-7): Check the pickles each day, skimming off any scum that forms on the surface. If any scum appears on the plastic bag, rinse it off and return it to the crock.
- When Are They Ready? Fermentation is complete when the pickles taste sour and bubbles stop rising (around 6-7 days).
- 9. Refrigeration & Storage: Once fermentation is complete, cover the crock loosely and refrigerate for 3 more days. Continue skimming if needed. The pickles can be stored in the fridge for up to 2 months. If they become soft or develop an off odor, discard them.
Notes
- Use the Right Cucumbers: Pickling cucumbers (like Kirby or gherkins) work best because they stay crisp during fermentation. Avoid using regular salad cucumbers, as they can turn soft.
- Trim the Blossom End: The blossom end of cucumbers contains enzymes that can cause soft pickles. Always cut off about ¼ inch from that end before pickling.
- ✔ Keep Everything Submerged: Cucumbers must stay under the brine at all times to prevent mold. Weigh them down with a water-filled bag or fermentation weights.
- Watch for Bubbles: Bubbles mean fermentation is happening! If you see them after 3 days, you’re on the right track. If not, your temperature may be too cold.
- Skim the Scum Daily: If foam or white film forms on top, skim it off. This helps keep the brine clear and prevents spoilage.