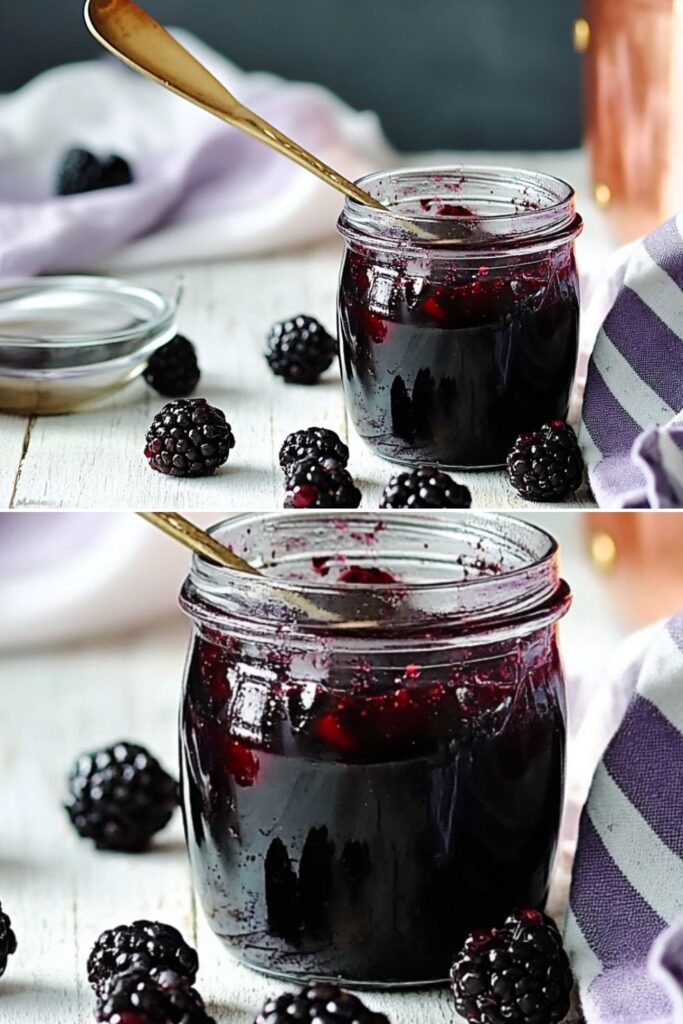
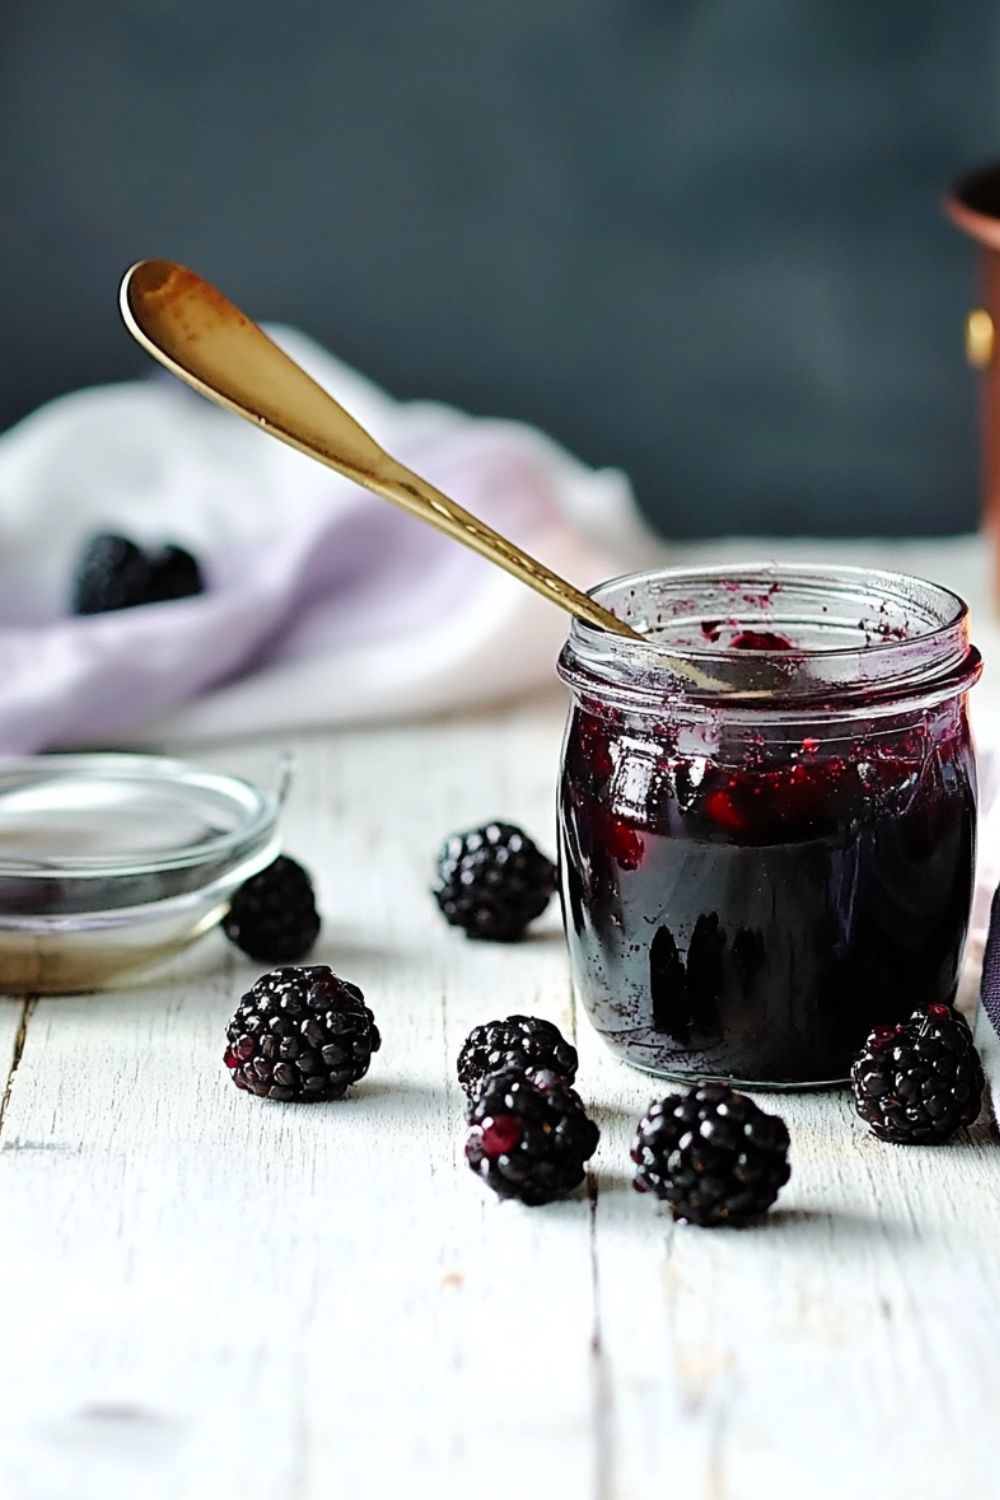
This easy Blackberry Jelly is a simple, delicious spread that’s perfect for breakfast or as a sweet treat. Made with fresh blackberries, apples, and lemon, it’s naturally sweet and full of flavor. You can even add a splash of crème de cassis for an extra kick!
Ingredients Needed
- 3lb blackberries, washed (about 6 cups)
- 2 large cooking apples, washed, cored, and diced
- ¾ pint water (about 1 ¾ cups)
- 1 lemon, juicedPreserving or granulated sugar (see note)
- 2-3 tbsp crème de cassis (optional)
- Sterilized jam jars and covers
How To Make Blackberry Jelly
- Prepare the Jelly Bag: Boil a jelly bag or tea towel in water for 2-3 minutes, wring it out, and let it cool. Arrange the jelly bag over a large bowl or set it on a stool, ready for the juice to drip through.
- Cook the Fruit: Place the blackberries, diced apples, water, and lemon juice in a large, heavy saucepan. Bring to a boil, then reduce the heat to a simmer and cook for 20-25 minutes until the fruit is soft and mushy.
- Extract the Juice: Transfer the cooked fruit and juice into the prepared jelly bag. Let it drip for 8 hours or until all the juice has been released.
- Prepare the Jars: Wash your jam jars in hot soapy water, then place them in a cool oven (130°F/250°F) for 10-15 minutes to dry and warm up.
- Cook the Jelly: Measure the juice. For every 1 pint (600ml) of juice, add 1 lb (450g) of sugar. Put the juice and sugar in a clean preserving pan, and heat gently until the sugar dissolves. If using, stir in the crème de cassis. Bring to a boil and simmer for 10-15 minutes, until the jelly reaches the setting point.
- Jar the Jelly: Skim off any scum from the surface, then pour the hot jelly into the warm jars, filling them to the brim. Seal the jars, label, and store them in a cool, dark place until ready to use.
Recipe Tips
- Use ripe blackberries: Make sure your blackberries are fully ripe for the best flavor and sweetness. Overripe or unripe berries can affect the taste and texture of your jelly.
- Don’t rush the dripping process: Allow the fruit juice to drip through the jelly bag for at least 8 hours. The longer you let it drip, the clearer and more flavorful the jelly will be.
- Test for setting point: To know when the jelly is ready, do a wrinkle test. Place a spoonful of jelly on a chilled plate, let it cool for a few minutes, then push it with your finger. If it wrinkles, it’s done.
- Sterilize jars properly: Make sure your jam jars are warm before filling them with jelly. This helps the jelly set properly and prevents it from cracking.
- Adjust sweetness to your taste: If you like your jelly sweeter or less sweet, feel free to adjust the amount of sugar. Just remember, the more sugar, the thicker the jelly will be.
How To Store Leftovers
- Refrigerate: Place leftover blackberry jelly in an airtight container or jar and store it in the fridge for up to 6 months.
- Freeze: leftover blackberry jelly can be frozen for up to 1 year. After it cools, put it into freezer-safe jars or containers, leaving space for it to expand. To thaw, place it in the fridge overnight (8-12 hours) before using.
Nutrition Fat
Serving Size: 1 tablespoon (20g)
- Calories: 50
- Total Fat: 0g
- Saturated Fat: 0g
- Cholesterol: 0mg
- Sodium: 10mg
- Total Carbohydrate: 13g
- Dietary Fiber: 0g
- Sugars: 13g
- Protein: 0g
More Recipes:
Blackberry Jelly
Description
This easy Blackberry Jelly is a simple, delicious spread that’s perfect for breakfast or as a sweet treat. Made with fresh blackberries, apples, and lemon, it’s naturally sweet and full of flavor. You can even add a splash of crème de cassis for an extra kick!
Ingredients
Instructions
- Prepare the Jelly Bag: Boil a jelly bag or tea towel in water for 2-3 minutes, wring it out, and let it cool. Arrange the jelly bag over a large bowl or set it on a stool, ready for the juice to drip through.
- Cook the Fruit: Place the blackberries, diced apples, water, and lemon juice in a large, heavy saucepan. Bring to a boil, then reduce the heat to a simmer and cook for 20-25 minutes until the fruit is soft and mushy.
- Extract the Juice: Transfer the cooked fruit and juice into the prepared jelly bag. Let it drip for 8 hours or until all the juice has been released.
- Prepare the Jars: Wash your jam jars in hot soapy water, then place them in a cool oven (130°F/250°F) for 10-15 minutes to dry and warm up.
- Cook the Jelly: Measure the juice. For every 1 pint (600ml) of juice, add 1 lb (450g) of sugar. Put the juice and sugar in a clean preserving pan, and heat gently until the sugar dissolves. If using, stir in the crème de cassis. Bring to a boil and simmer for 10-15 minutes, until the jelly reaches the setting point.
- Jar the Jelly: Skim off any scum from the surface, then pour the hot jelly into the warm jars, filling them to the brim. Seal the jars, label, and store them in a cool, dark place until ready to use.
Notes
- Use ripe blackberries: Make sure your blackberries are fully ripe for the best flavor and sweetness. Overripe or unripe berries can affect the taste and texture of your jelly.
- Don’t rush the dripping process: Allow the fruit juice to drip through the jelly bag for at least 8 hours. The longer you let it drip, the clearer and more flavorful the jelly will be.
- Test for setting point: To know when the jelly is ready, do a wrinkle test. Place a spoonful of jelly on a chilled plate, let it cool for a few minutes, then push it with your finger. If it wrinkles, it’s done.
- Sterilize jars properly: Make sure your jam jars are warm before filling them with jelly. This helps the jelly set properly and prevents it from cracking.
- Adjust sweetness to your taste: If you like your jelly sweeter or less sweet, feel free to adjust the amount of sugar. Just remember, the more sugar, the thicker the jelly will be.
Blackberry Jelly